Have you got an abundance of one kind of produce? Whether you’re shopping seasonal sales, have a farm share, or grow your own, it happens. One of the key ways many of us deal with this bounty is preserving it to take us through the year. Not all preservation methods are, however, nutritionally equal. I’m going to talk today about my two favorite methods: canning and freezing.
Can you can?
Canning was the method of choice in my grandmother’s kitchen, and my mother still does quite a lot of it. From them, I’ve learned two important lessons:
- It’s hard, hot work, usually done during the hottest days of the year.
- Rookies have no business tinkering with the recipes.
Tinkering with canning recipes can generate food safety problems. Adding garlic and onions to tomato sauce, for example, changes the acidity such that water bath canning is not sufficiently safe. It’s a smart idea to follow the guidance of the USDA’s National Center for Home Food Preservation to be confident of safety.
Some home canning recipes are high in added salt and added sugar. Pickles, for example, are notorious for both of these. Salt and sugar are both nutrients which Guiding Stars takes points from foods for. That’s not a reason to abandon your grandmother’s awesome pickled beets recipe, but it might be an argument for making a smaller batch.
Green Tomato Relish
When making a micro-batch of a preserve that you intend to refrigerate and use quickly, lowering the salt and sugar is both safe and nutritionally a good idea.
View recipe »Hello, freezer, my old friend.
I am a lazy preserver and I have the privilege to own a chest freezer. When my tomatoes come in from the garden, I chop ’em and freeze ’em. This is my strongly preferred method for several reasons:
- My tomatoes aren’t all ready to can at the same time, and this method works well in small batches.
- I don’t need to add any salt or sugar to keep them safe, so the nutritional balance is better.
- It’s approximately 4000ºF cooler than canning.
- I don’t have to wait for water to boil, so it’s faster.
- It’s safer and requires slightly less stringent sterilization procedures than canning.
Freezer canning presents a couple of specific challenges you might appreciate knowing about in advance.
Texture
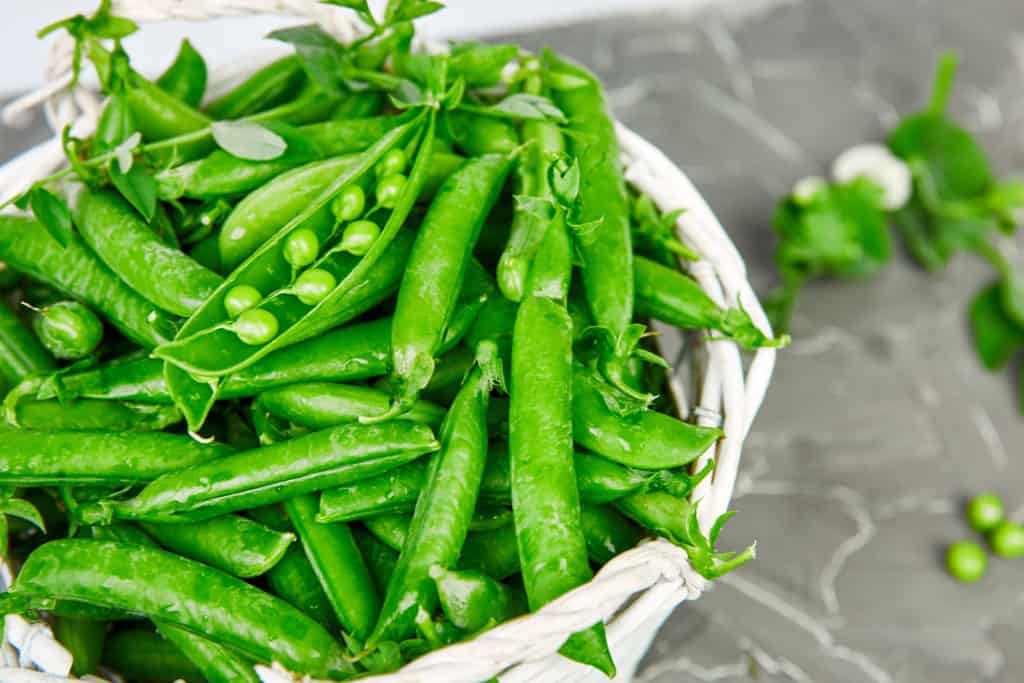
Not all foods freeze well straight out of the garden. The higher the water content, the more likely it is that a vegetable will turn to mush. Cucumbers and lettuce, for example, have no business being chucked into a freezer. Freezing helps tomatoes break down for sauce, but you shouldn’t expect much bite to them. Winter squash freezes gorgeously in raw cubes or as a puree. Shelled peas are perfect as-is. Peapods, green beans, and similar items benefit from being blanched.
How to blanch veggies:
Bring a large pot of water to a boil. The larger the better. You want the water temperature to stay high when you add the veggies. Add the veggies and boil for 1 minute. Remove the veggies from the water and immediately cool under running cold water or in an ice bath.
Containers
You technically can freeze food in your collection of glass canning jars. You do, however, run the risk of breaking them when the food expands. Frozen foods do best in straight-sided glass jars. You should always leave a generous inch of headroom for food to expand. If your jars have any kind of curve in them, you should pack them no fuller than a generous inch below the start of the curve. Note also that careless jostling in a chest freezer can lead to broken glass. Food stored in a broken container should be discarded.
Plastic is easier to use safely. Takeout containers meant for soup work really well and are easy to wash and reuse. Plastic freezer bags are excellent for some items. Keep in mind that for many items, the quantity you freeze in a single container will need to be thawed and used at the same time, so err on the side of small containers and bags.
Clumping
If you want to freeze something like green beans, chucking them wet into a freezer bag will result in a solid brick of bean. I’ve learned this lesson the hard way with berries. What works best, I have found, is laying the produce flat on a baking sheet in a single layer and freezing until firm. Once firm, I move them into a freezer bag, allowing me to easily scoop out what I need at any given time. Bonus tip: if you’ve got silicone baking mats, lining the pan with one will make transfer into a bag much easier.
Final tip: you can freeze kale.
Why, you might ask, would you freeze kale? It’s not good for salads after freezing, but it’s fine in soup. The real reason I freeze it, however, is colder smoothies. Wash and rip or the kale. Dry it thoroughly. (I cannot emphasize that point enough.) Place in a freezer bag. Squish out as much air as possible, shaping the kale into a thin, flat layer. Freeze flat. This form takes up the least space and when you want some kale, it’s easy to break a chunk off. Although, if you’ve got the freezer space and find washed, packed kale on sale, you can just chuck those bags straight into the freezer and use as-is.